All

Cashmere Coat – Invisible Mend

I recently took on this sentimental coat project (this feels like a good time to announce that I’m now taking local commissions in Berea, KY!). Every so often, the perfect candidate comes along for an invisible mend, and I really enjoyed bringing this old union made piece back to life. Getting good photos of this project was next to impossible, but not being able to see my mends is kind of the point of invisible mending!

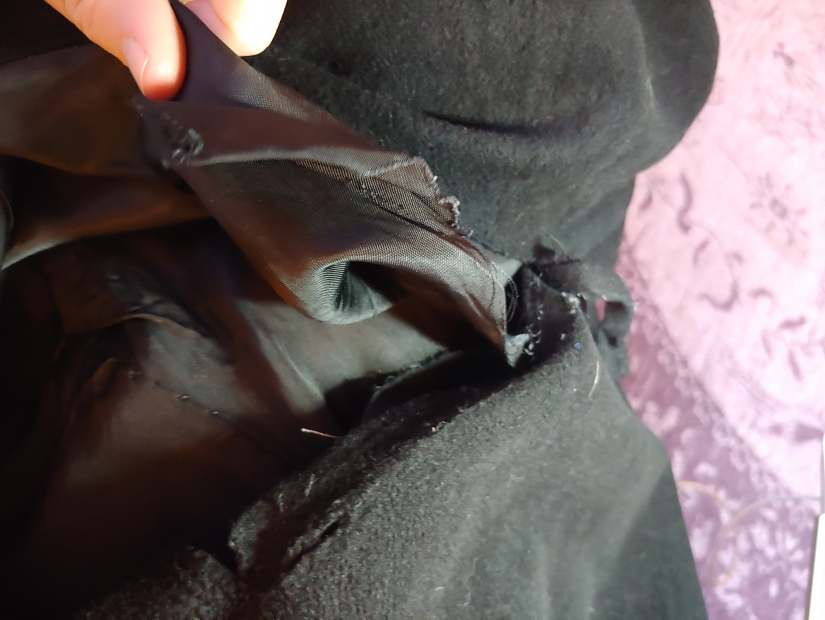
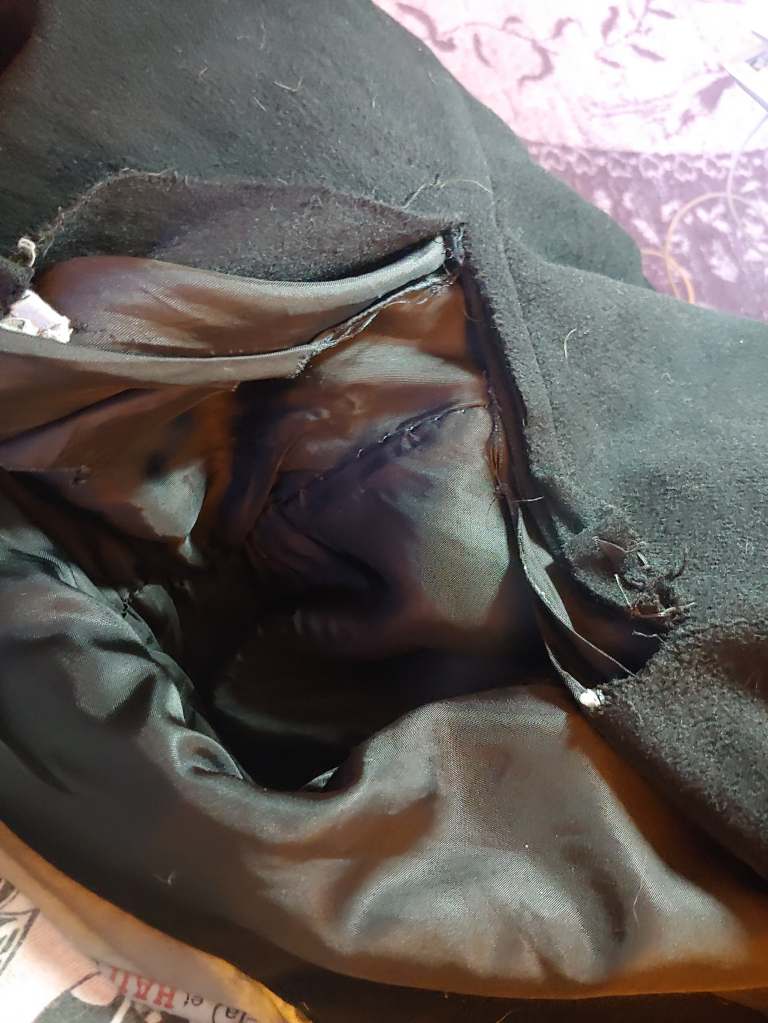
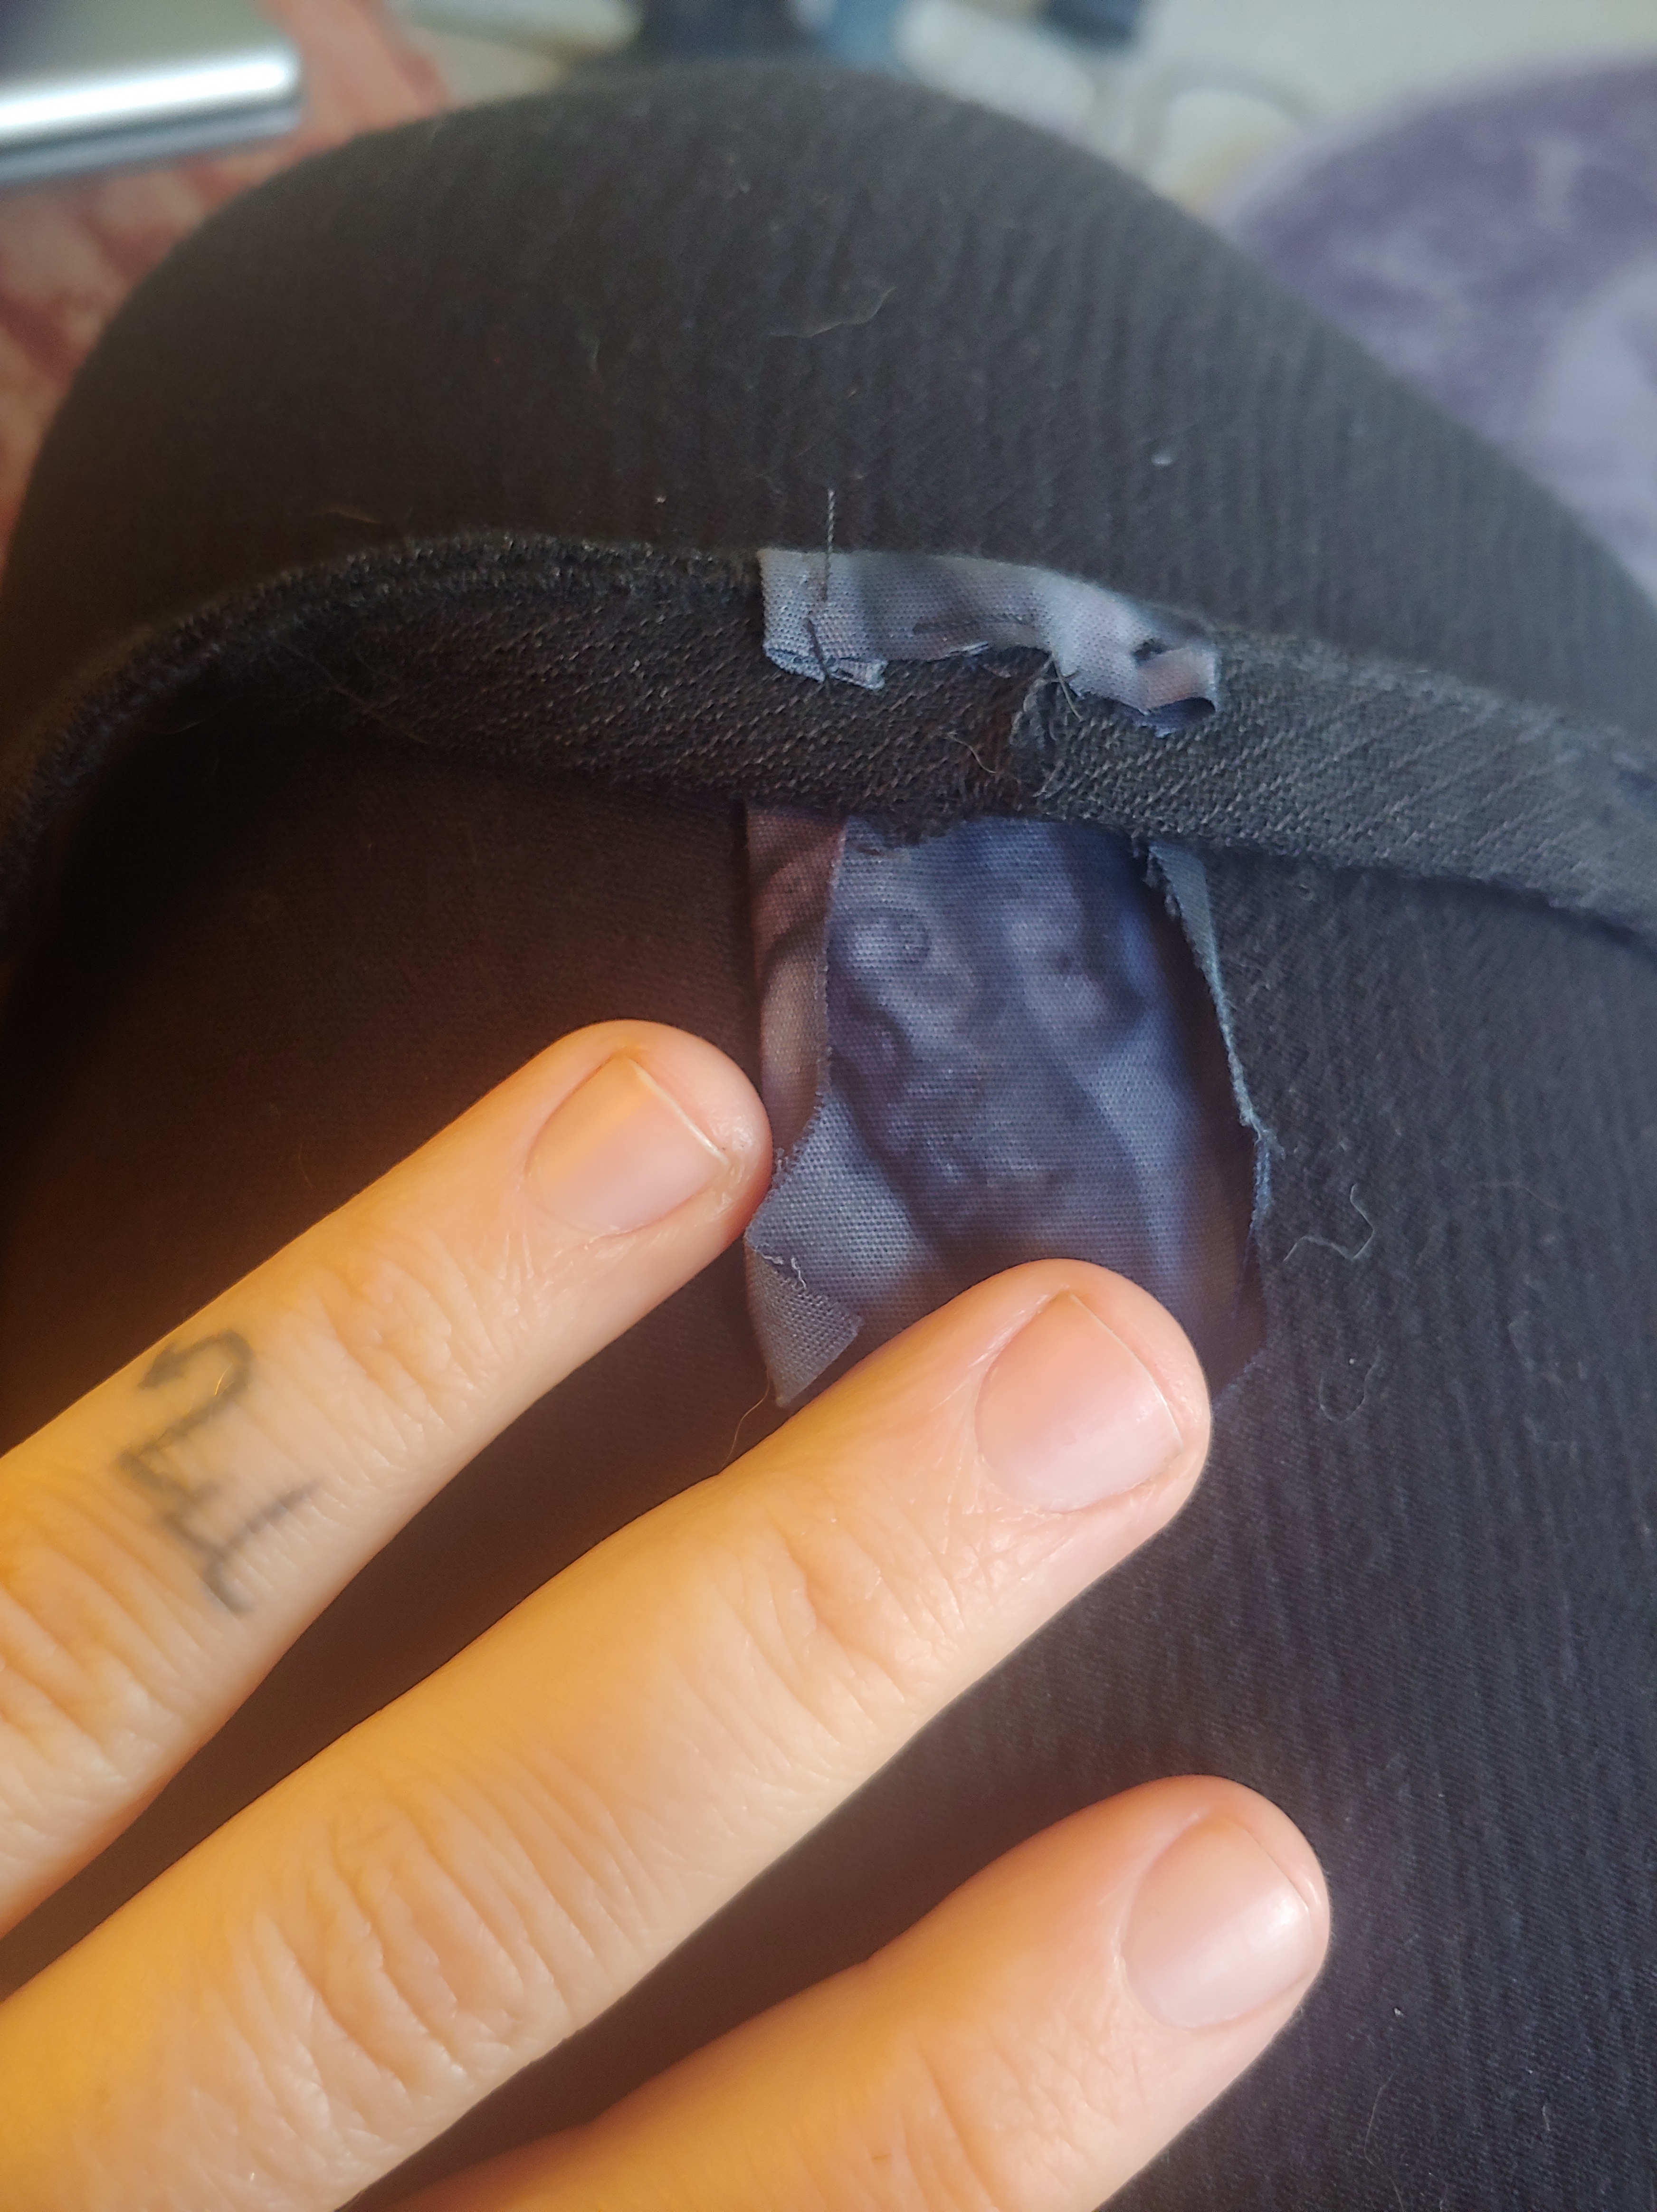
The damage to the lining of this jacket was extensive. Both the cashmere as well as the lining were split way up the back, the lining had pulled away from the coat almost completely at the bottom – it had been repaired before, but the stitches were very far apart and weak. It had lost all of its buttons.

My first step was to finish deconstructing the hem so that I could get the lining onto the sewing machine (this was the only part I could get on the machine, this coat was heavy!) I stitched the split lining back together the best I could fit on the sewing machine, and then hand stitched the rest.

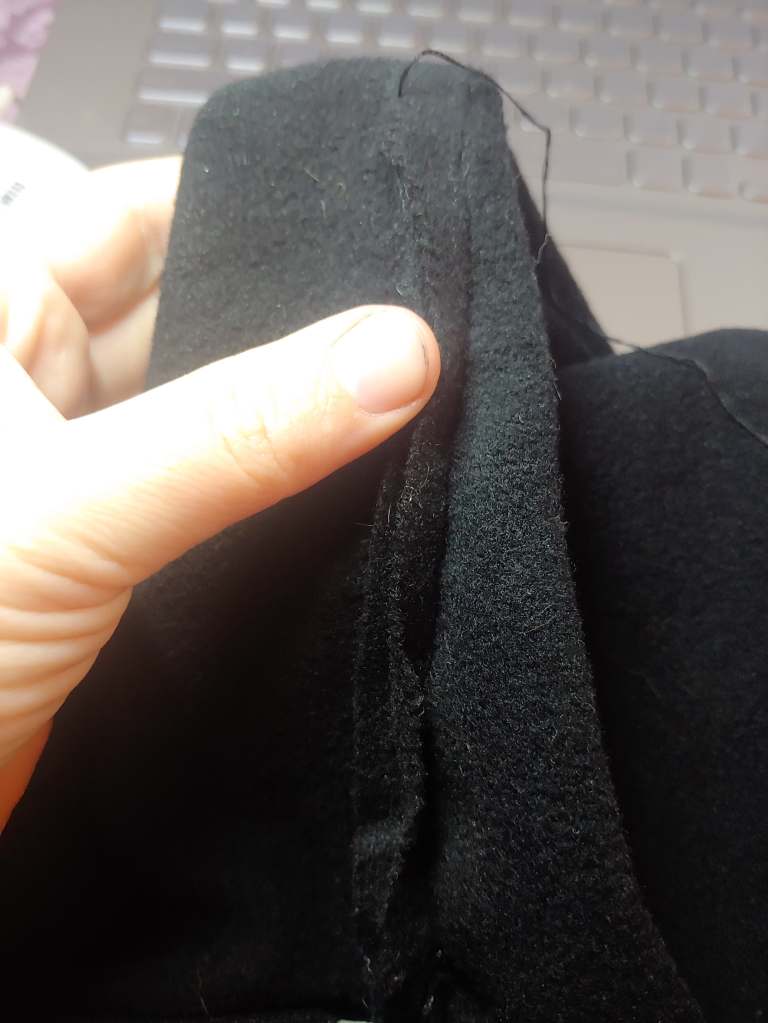
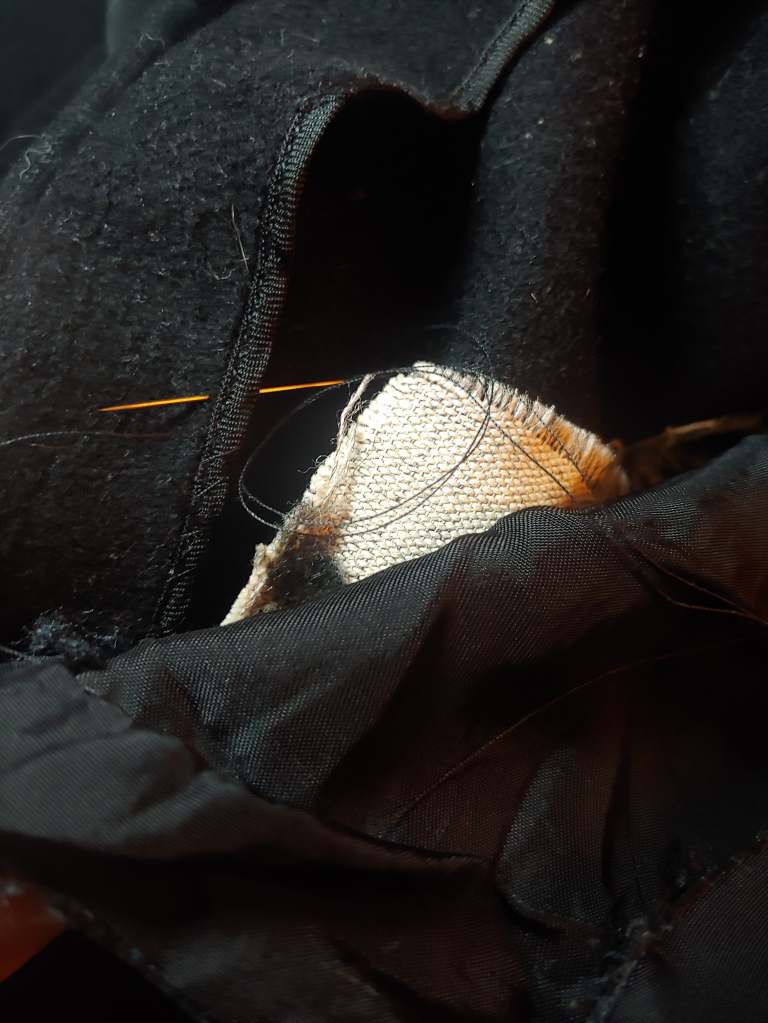
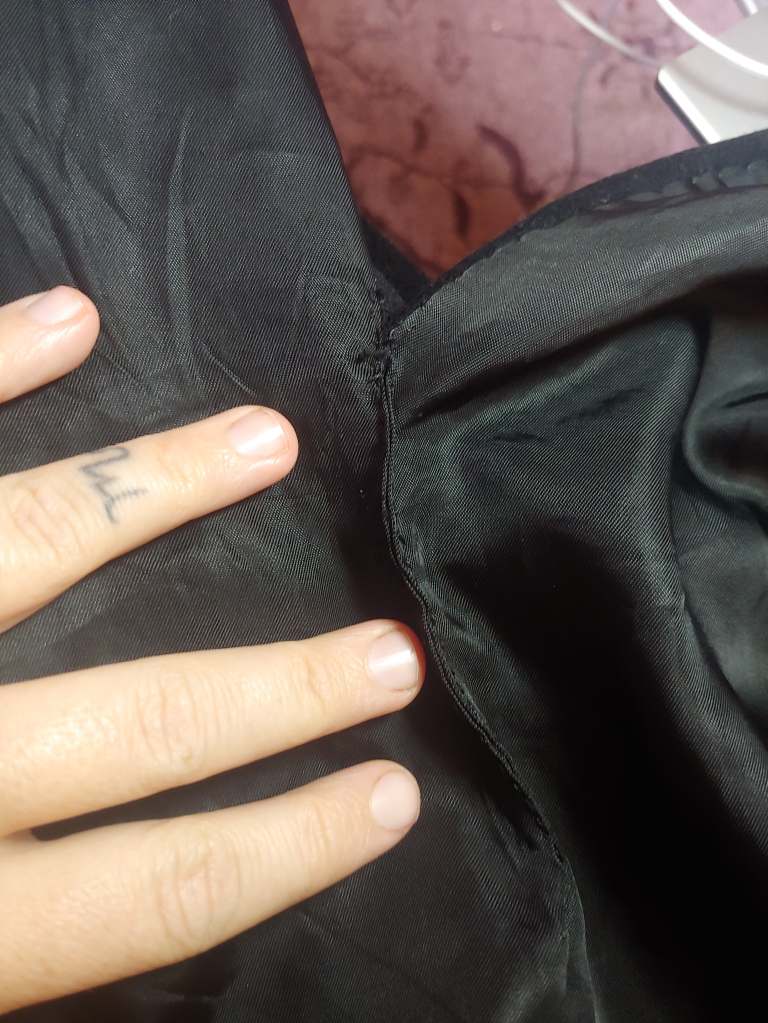
The seam up the back had come loose, so I stitched the two sides back together, and did a dainty little blind stitch to tack down the original seam – for cosmetic purposes. There was a slight pucker, as you can see in the third photo, but once the coat was on and hanging, it laid quite flat.

The coat originally had the hem stitched directly to the lining, but for stability, I re-hemmed (by hand!) the cashmere on its own, before blind stitching the lining back to it. A bit of length was lost this way, but it ensures that if the coat gets pulled or sat on, if any threads wear out or pop over time, future repairs will be much easier to catch before they get out of hand.

All

Blue Cotton Shirt

So I have this really cool 100% cotton shirt that I love, I’m pretty sure I stole it from an ex (don’t we all have those clothes?) This tear is definitely a case of me ignoring a small tear and it growing and growing. It ripped next to the seam, and frayed a lot, I had quite a bit of missing weave, the more I looked at it, I realized if I didn’t want to have to darn a tear (and when you see the darning project I’ve been working on, you’ll see why I need a break from darning!) I was going to have to put a patch in the back.

First I trimmed away most of the frayed threads to give myself clean lines to work with, and I dug into my scrap pile for the right piece of fabric to patch it with, and fussed with it for a good 20 minutes before I finally gave in and got my lazy butt off the couch for some pins to hold it in place.

I backstitched all the way around in a rectangle, but I wasn’t confident in its strength, so I added a second. I saw the opportunity to make it artistic, so I put X’s all the way down, and couched them in the middle.

I like the blue-on-blue thread, it’s a visible mend, but not too visible. I was inspired to take this route when a friend mentioned that they were not sure how acceptable visible mending would be in her workplace attire, so I decided to experiment with a few things to see what I could come up with – allowing a mend to be on display, but delicately; just another step in making visible mending an accepted norm.

If I could do anything different, I’d put this in a medium sized embroidery hoop, I think it would have helped me keep my lines much straighter.

mending

Small Purple Bag Mend

I had really hoped my first official post would be full of lovely pictures after moving into my studio, but life has been crazy and I couldn’t put off my mending fever until getting in there!
Deciding to record my mending with photos has been eye-opening to me, I never realized how second-nature mending was to me until I had to remind myself that I couldn’t just pick something up and fix it without documenting the progress.

I love this purse, I’ve had it since 2013, but when the strap finally broke I tucked it away to deal with later. While cleaning I found it in the bottom of a box and I just had to bring it back to life. Below you’ll see several shots of the damage, lots of tears and fraying on the strap, which had broken off on one side completely and tons of little snags in the weave of the fabric, likely caused by this redundant velcro I ended up removing in favor of the decorative button it has.

First, I started by removing the broken part of the strap, to do this I opened the side-seam it was stitched into and pulled the old piece out. About a third of the way up the strap I also removed a large chunk that was so frayed it was barely hanging on. I could have replaced the entire strap, but it’s so soft and worn in that I wanted to keep it, and I definitely like a challenge, so I chose to experiment with patching it. I reenforced the side that was still hanging on, attached the cut segment back together, as well as proactively covered some new fraying with lovely blue patches, and then re-attached the newly clean-cut side back into the seam I’d previously opened. All-in-all I only lost about 3 inches from the strap in its repair

Next I decided to remove the velcro that caused all the snagging in the weave of the outer fabric, because it has a button, the velcro was redundant anyways. Hopefully this will minimize snags in the future. I’ll save the velcro for some other project.

Next, the mend that felt like it would never end – there were what felt like hundreds of little snags in the weave of the fabric. To hide and protect these, I used a small crochet hook to pull them between the decorative weave, and the lining of the bag.

All-in-all I’m really happy with the results, and I get to use my favorite bag again. I used a combination of visible (the strap) and invisible (the snags) mending. Here are the results,

Would I do anything differently? I think I could have saved about an hour on this repair by using a sewing machine on the patches, but cleaning my sewing table seemed like a far more daunting task than hand-stitching the mend.