I collect skills like trading cards – I have to try everything once, sometimes it sticks, sometimes it doesn’t.
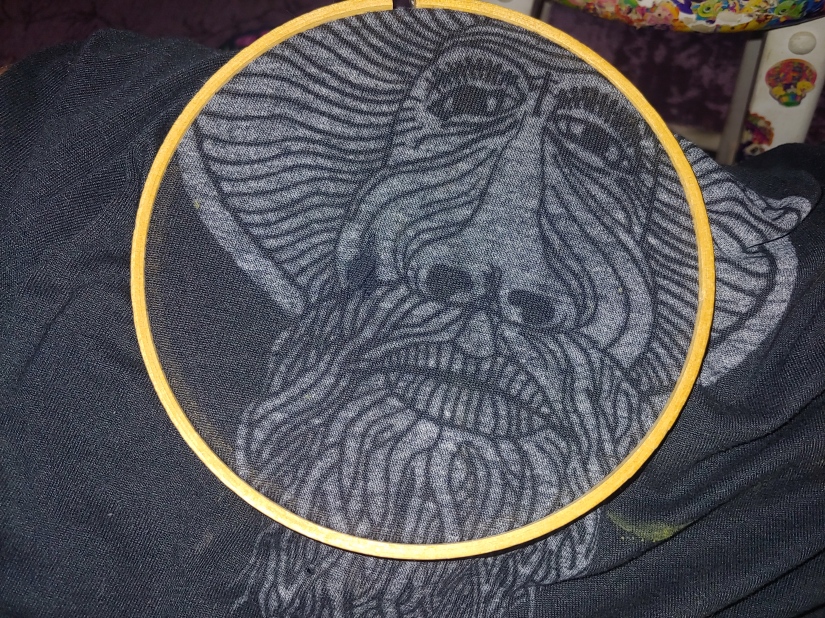
I’ve been dabbling in block printing on fabric on and off for several years now, and last year I took on a massive, ambitious block that I’m still hopeful about – and I can’t wait to show the world. The issue? It warped, and while trying to get it right, I waste a lot of fabric on test prints. But parts of that fabric look really clear, vivid, and interesting, so I decided to save them for patches.
I for one, actually quite like the look of ripped jeans, that is, until I catch the hole on the license plate of my car and rip them all the way up the leg at the farmers market – oops. These suckers had to be reinforced, and I’m quite proud of how they came out in the end.
This shirt has been sitting in my mend pile for some time now. I found it in a thrift store shortly after I moved to Kentucky, it’s perfectly worn in, and so soft – a bit paint stained from repainting my house in it, but it adds to the character.
I think the most fun part of this was going ahead and picking thread that matched the paint stains – I’m glad to have my favorite shirt back in circulation again!
I’ve not been able to post in a while! I’ve been busy working on The School of Needlework for Disobedient Women – which was a huge success.
When I went to get dressed today I found that one of my basic rayon dresses that I wear all the time had developed a cluster of tiny holes, giving me the opportunity to share this quick mend I do all the time.
I use my embroidery experience to cover each little hole with a star. It’s not very extravagant, but it doesn’t take long and it works really well with the stretchy rayon fabric. I’d say this is the most common mend that I do on my own clothing, it simply slows the growth of the holes down, allowing me to keep wearing my dress longer! These stretchy rayon garments aren’t great candidates for invisible mending anyways, so I went with a nice red thread, because if it’s gonna be visible, I’m gonna go all in.
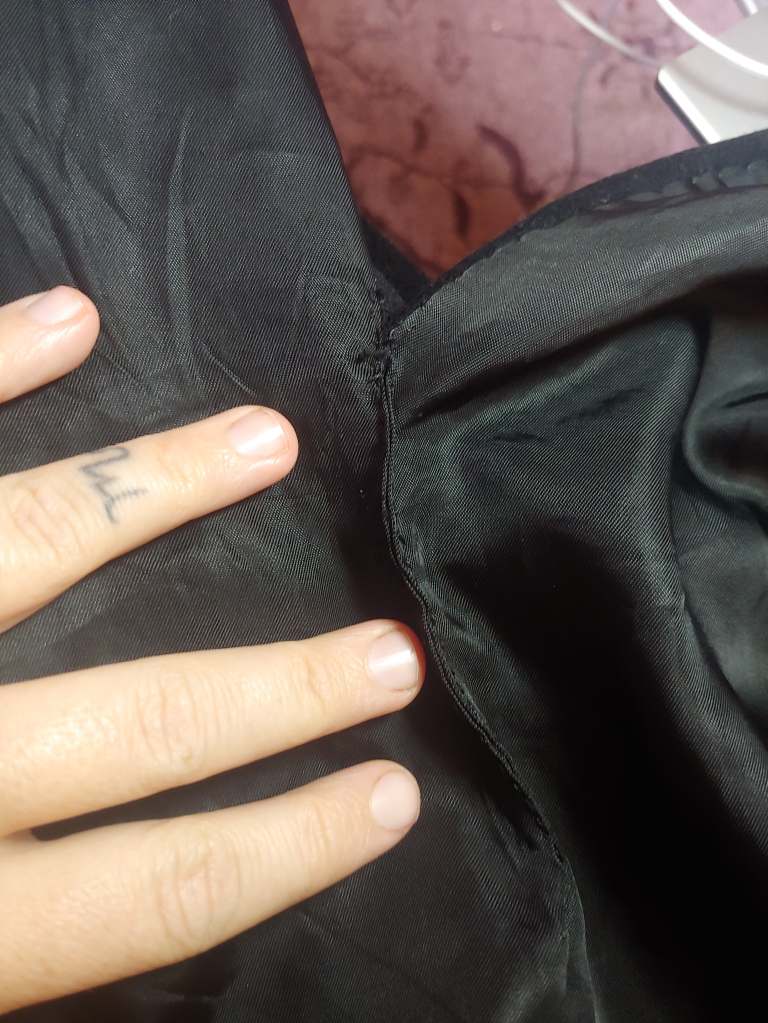
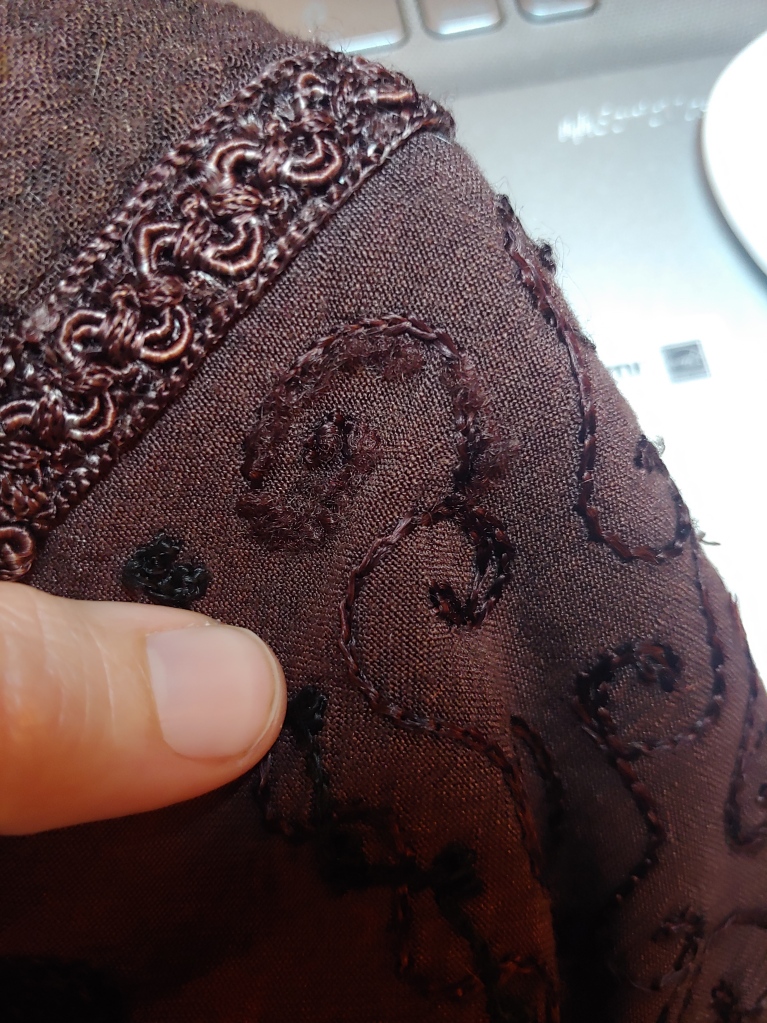
I recently took on this sentimental coat project (this feels like a good time to announce that I’m now taking local commissions in Berea, KY!). Every so often, the perfect candidate comes along for an invisible mend, and I really enjoyed bringing this old union made piece back to life. Getting good photos of this project was next to impossible, but not being able to see my mends is kind of the point of invisible mending!
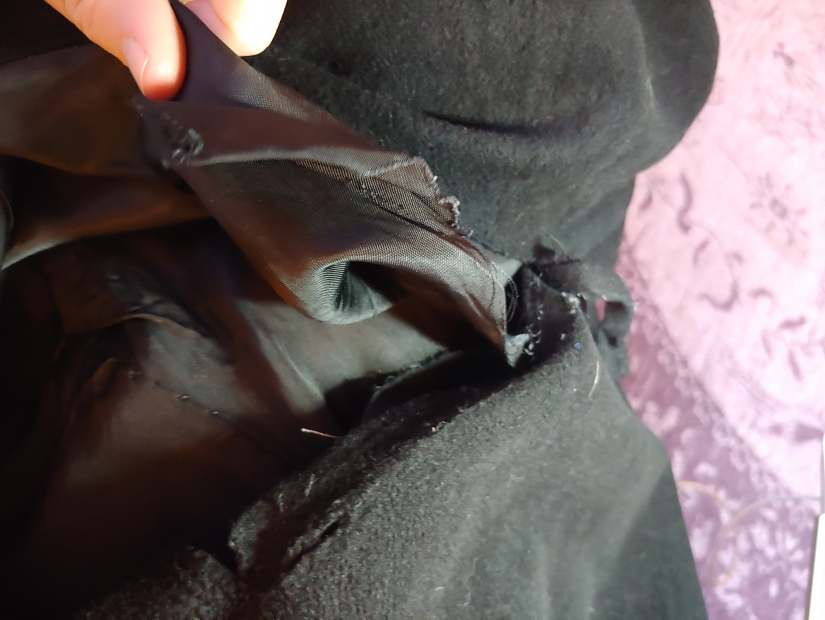
The damage to the lining of this jacket was extensive. Both the cashmere as well as the lining were split way up the back, the lining had pulled away from the coat almost completely at the bottom – it had been repaired before, but the stitches were very far apart and weak. It had lost all of its buttons.
My first step was to finish deconstructing the hem so that I could get the lining onto the sewing machine (this was the only part I could get on the machine, this coat was heavy!) I stitched the split lining back together the best I could fit on the sewing machine, and then hand stitched the rest.
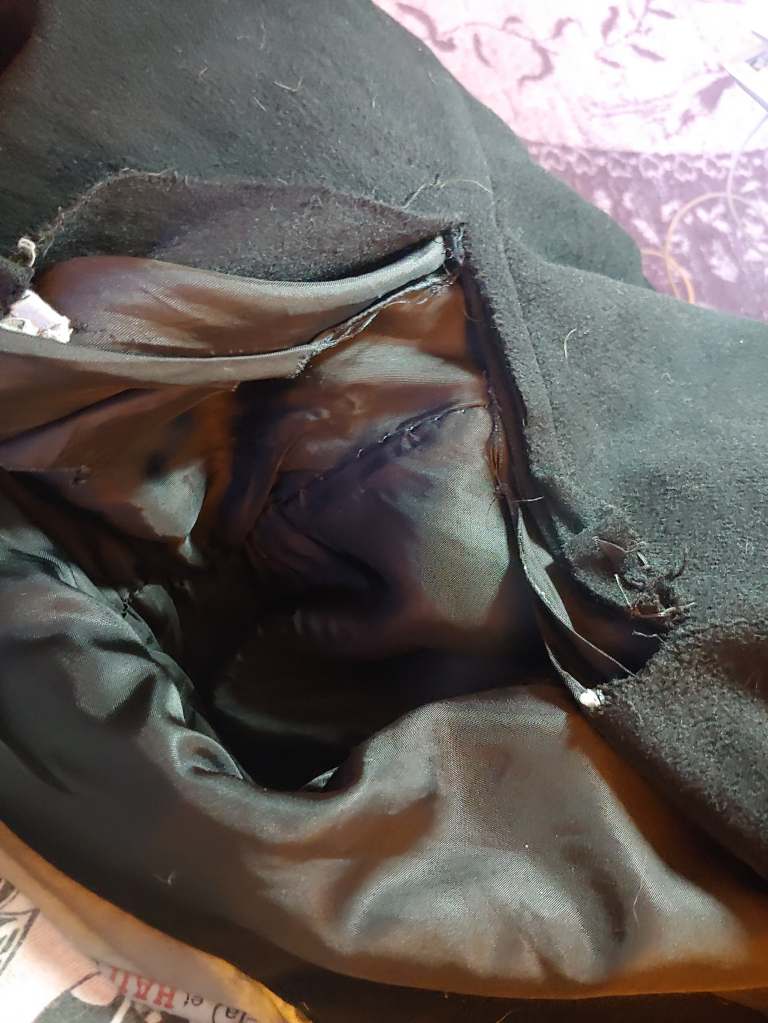
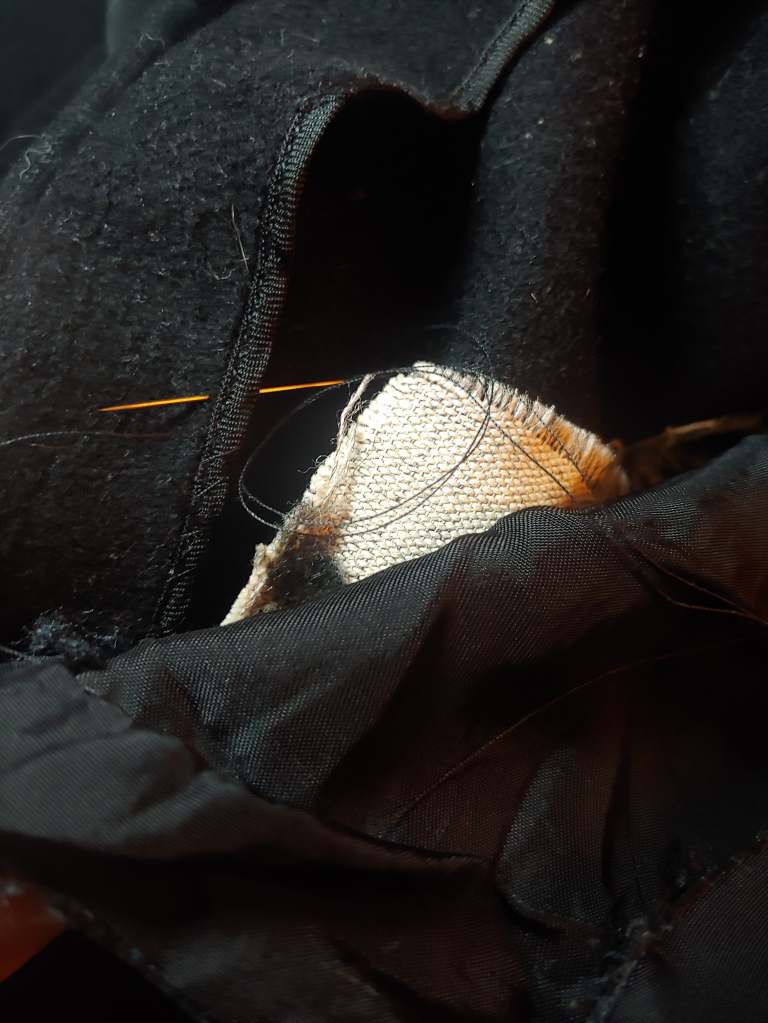
The seam up the back had come loose, so I stitched the two sides back together, and did a dainty little blind stitch to tack down the original seam – for cosmetic purposes. There was a slight pucker, as you can see in the third photo, but once the coat was on and hanging, it laid quite flat.
The coat originally had the hem stitched directly to the lining, but for stability, I re-hemmed (by hand!) the cashmere on its own, before blind stitching the lining back to it. A bit of length was lost this way, but it ensures that if the coat gets pulled or sat on, if any threads wear out or pop over time, future repairs will be much easier to catch before they get out of hand.
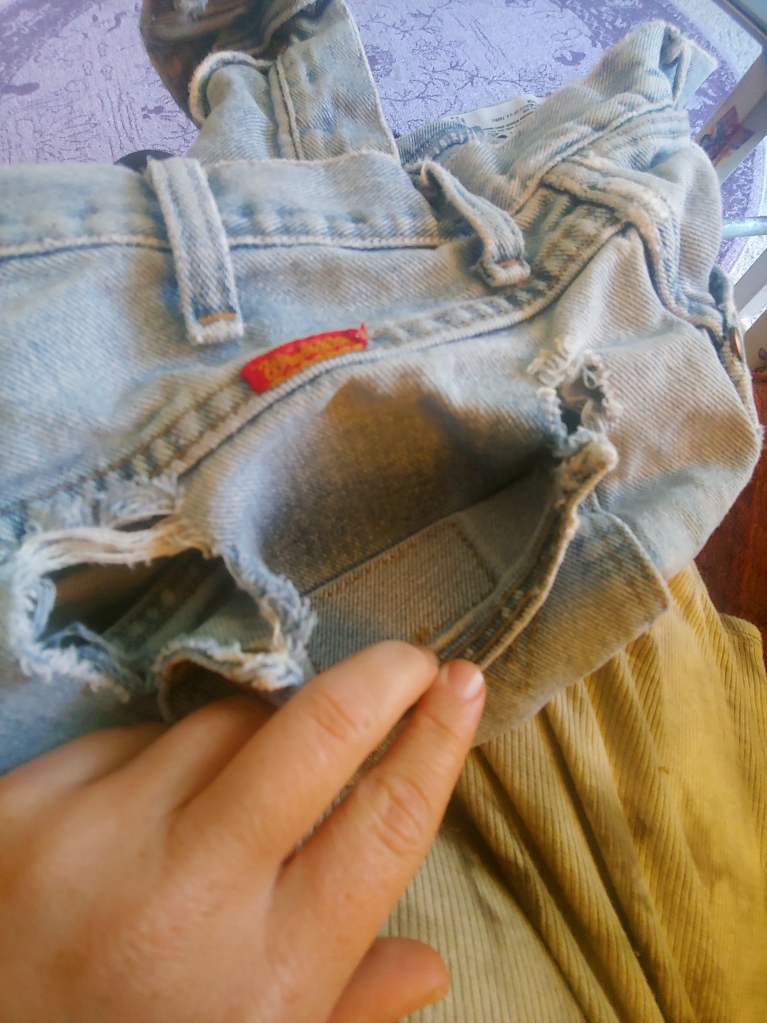
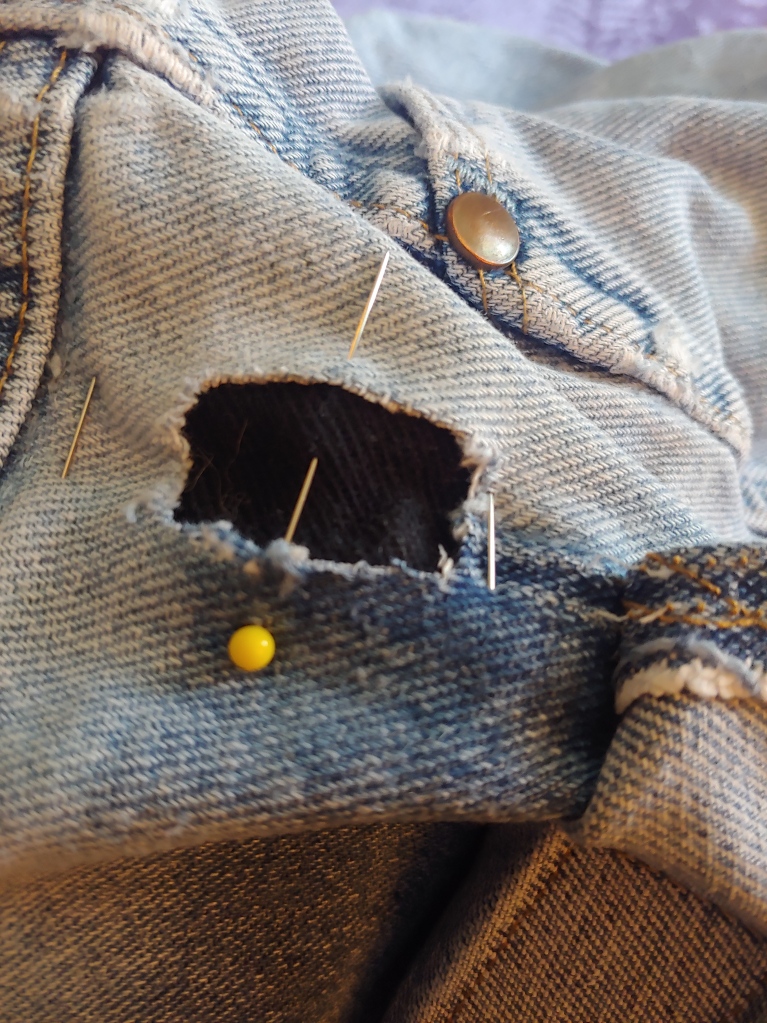
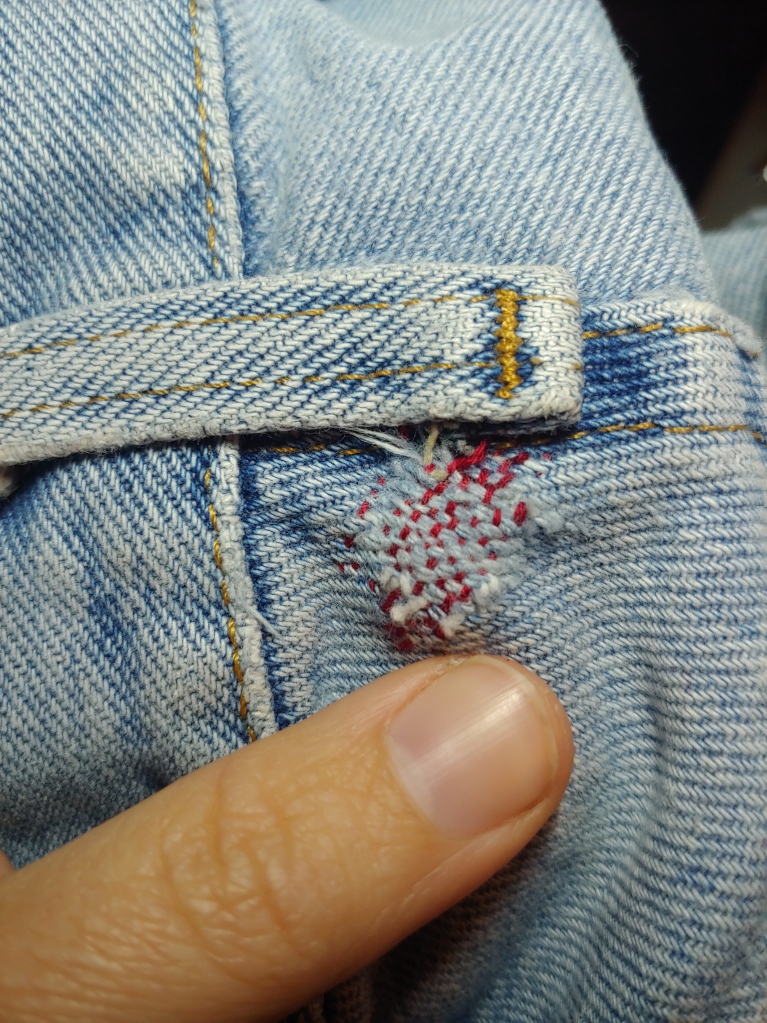
This week I took on a challenge that is really making me question my decision to work without thimbles – denim pocket mends. This involved removing the pockets, adding patches from behind, and then stitching the pockets back on.
First I unstitched the top half of the pockets, trimmed the denim into a more manageable shape, and then pinned black denim to the inside.
I really like the look and sturdiness of blanket stitch for this kind of patch, so I did that on all three holes before re-stitching the pockets.
I also reinforced a few worn spots before they could get worse, hopefully preventing more difficult future repairs!
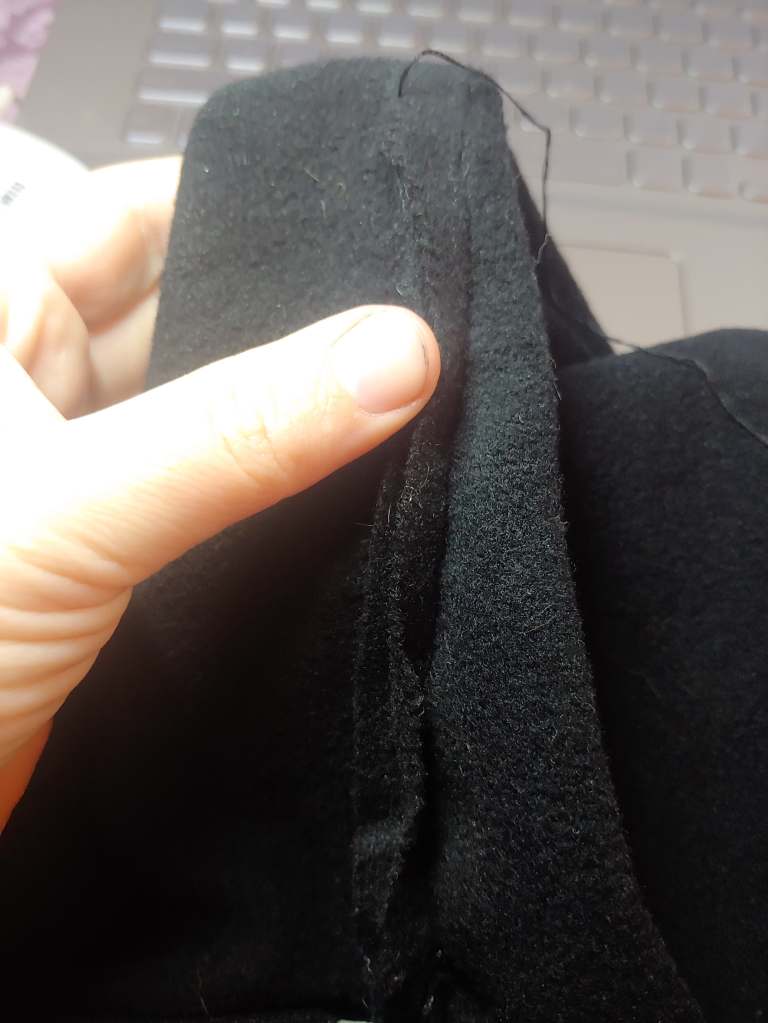
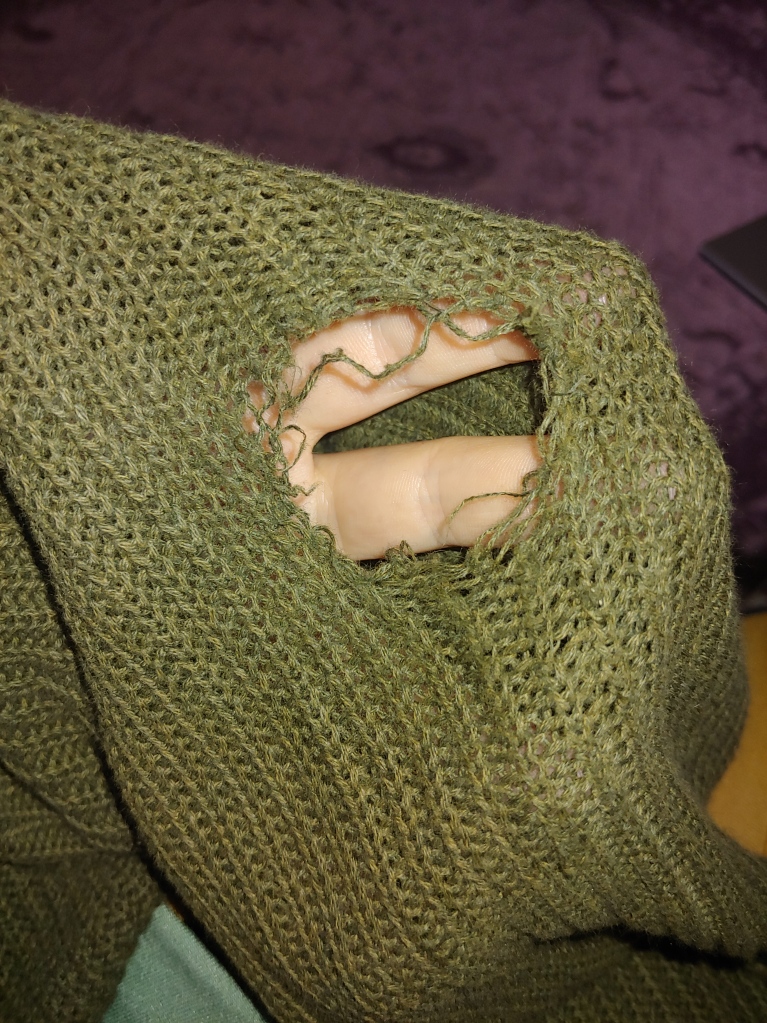
My best friend came to visit me some time ago wearing this green sweater with the elbow totally blown out, like it was nothing, like that rip wasn’t getting bigger and bigger every time she washed it. LEMME AT IT! And here we are, I’m quite proud of the results, even though I wasn’t able to swiss darn like I’d initially hoped to.
The elbow hole just kept getting bigger on me as I tried to work, so I heavily reinforced the edges. It’s one of those repairs that I don’t even know how to explain what I did, it just happened – perhaps someone will help me film it someday.
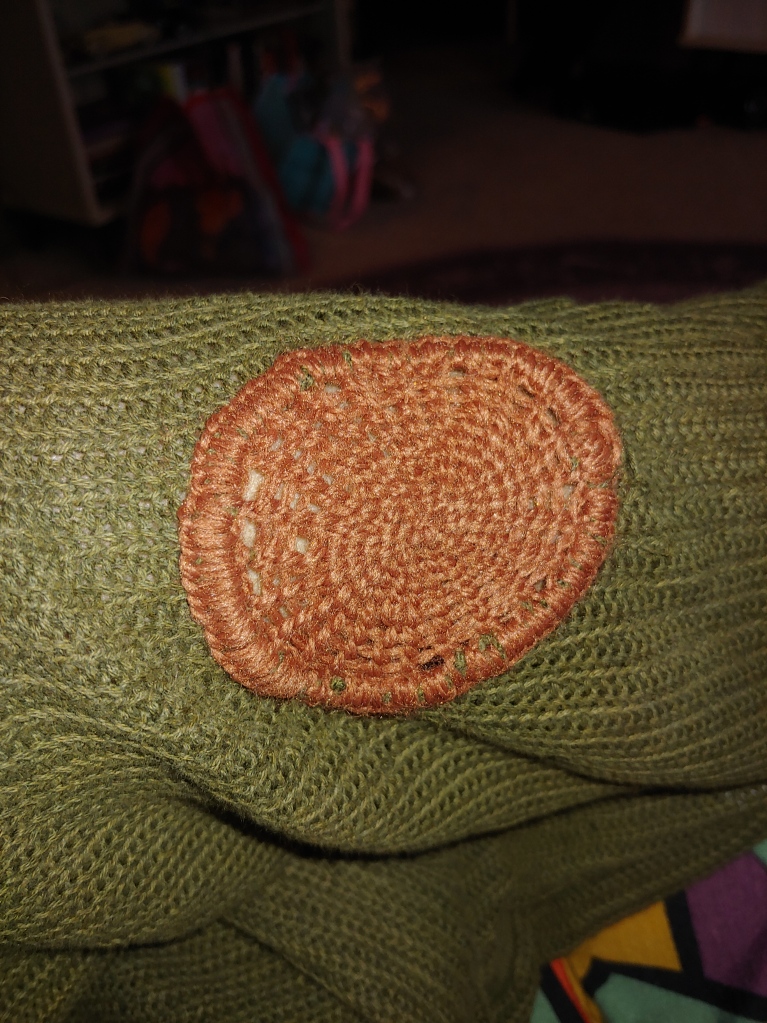
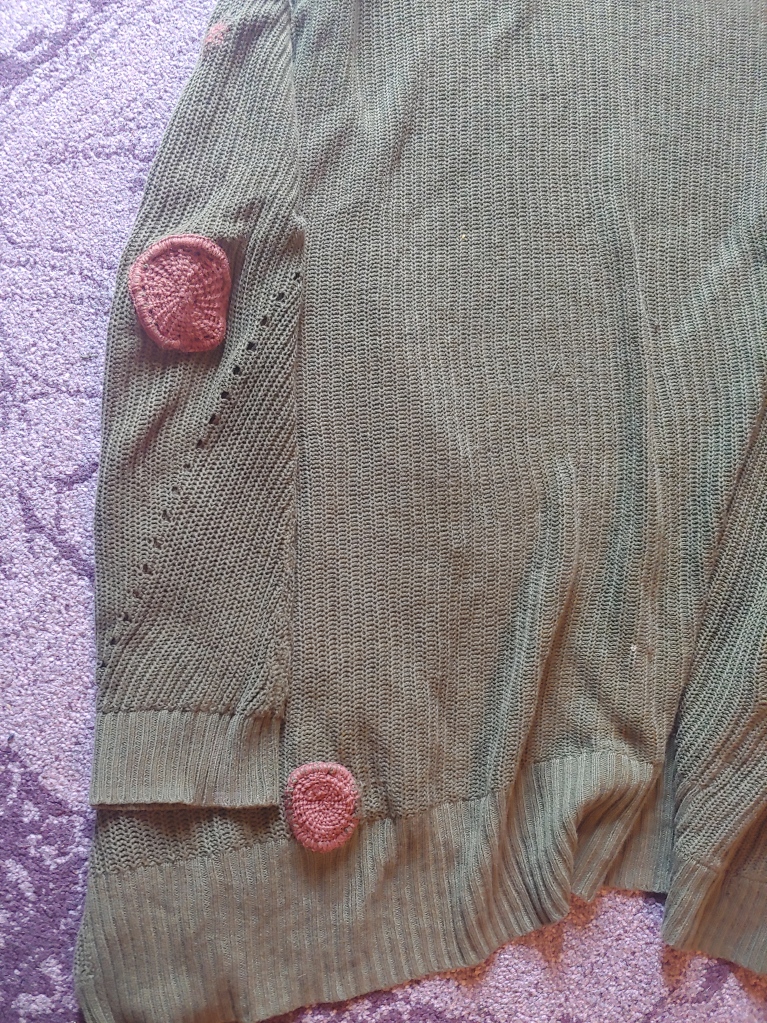
There was a second hole I repaired the same way near the bottom back of the sweater. I think the second repair looks much better.
If I could do anything different, I’d love to find a way to make this round style of patching in place lay more flat on the sweater, perhaps that will come with washes.
How I managed to wear this dress so frequently without ever noticing the back was just full of tiny holes is beyond me. This particular dress was one hell of a task, it has over 30 darns (sofar!), as well as a patch on the hem, and new topstitching around the neck. This dress has nearly 30 hours of mending in it.
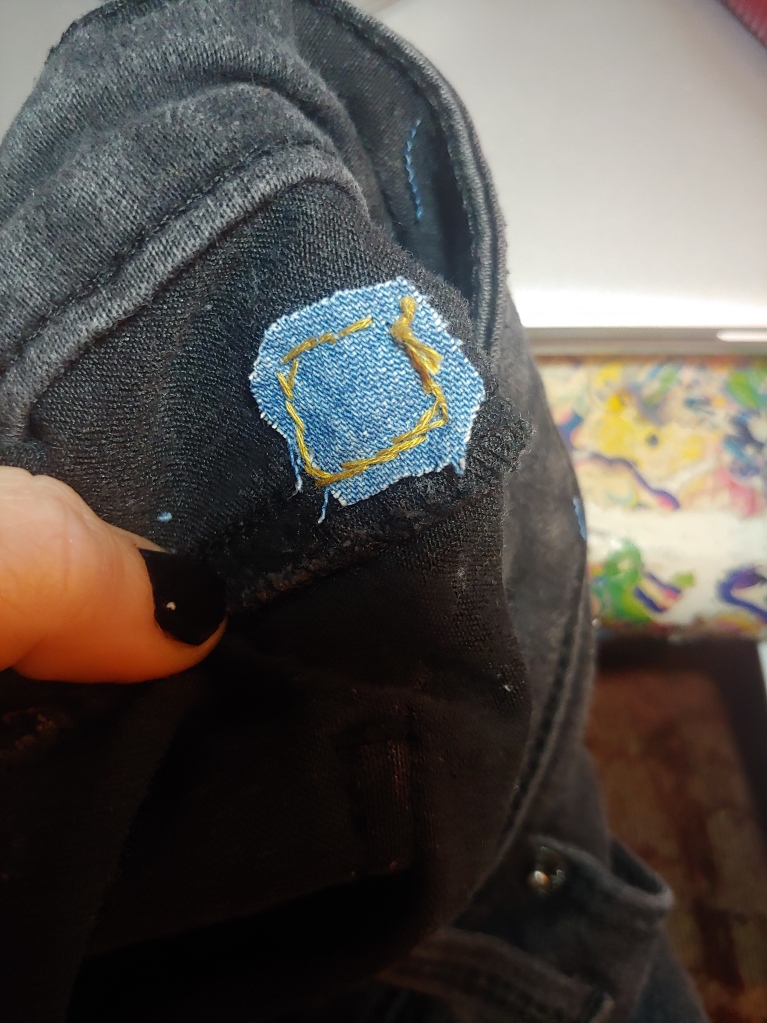
We’re at the #mendmarch halfway-ish point, oh boy. Today is day 15, Saggy – something I can prevent with this mend, haha. One thing I love about mending is being in a thrift store and not being turned away by something I like or need requiring mending. Today I spotted a guilty pleasure of mine, the stretchy kind of jeans that definitely do not last. I never buy them new, I just can’t bring myself to do it, but for $2.50 I picked up a pair with a broken belt loop and went to work.
This is an easy mend, and one I’d put on my “must-learn” list for anyone who wears jeans (hell, I almost never wear jeans but here I am using the skill!) I trimmed away all the fraying edges and put a piece of scrap denim on the inside of the pants, backstitching all the way around with…whatever thread happened to be sitting in my needle at the time – today it was gold.
Then, wishing desperately that I owned a thimble, I stitched the belt loop back onto the reinforced hole. All in all it was a quick mend that will probably outlast the cheap original stitching on all the other belt loops.
Still hacking away at #mendmarch and today is Bends, well, there’s nothing more vital to my bending than my leggings, yep, leggings. They’re one of the few articles of clothing I still buy new (however, if I find a pair on the cheap in a thrift store I always bring them home), I wear them constantly as my back pain doesn’t always allow for the pressure from waistbands on jeans. But has anyone else noticed that each size of leggings goes from “fitting a bit snug and popping but then the thighs” to “baggy as all get out if you go a size up“? My go-to mend for leggings when they first start to wear through is to just fold the seam over and stitch it down to hide the hole, but that’s a very temporary fix. So with these, I took a new, fun approach.
If you’re following me on Facebook or Instagram, you saw on day 10, Defeated – I opted not to mend the patterned leggings that left me with a whole buttcheek hanging out on my shopping day. Those leggings became the perfect patch material for the black ones I wear every day. I affixed the patch with a zig-zag stitch, as it’s got plenty of natural stretch. I learned through trial and error that if I stitched both on and off the patch, like I do with other types of patches, it just ripped the already worn thin leggings more, which is why you can see so much hanging edge. But to my surprise, it did hold up in the wash!
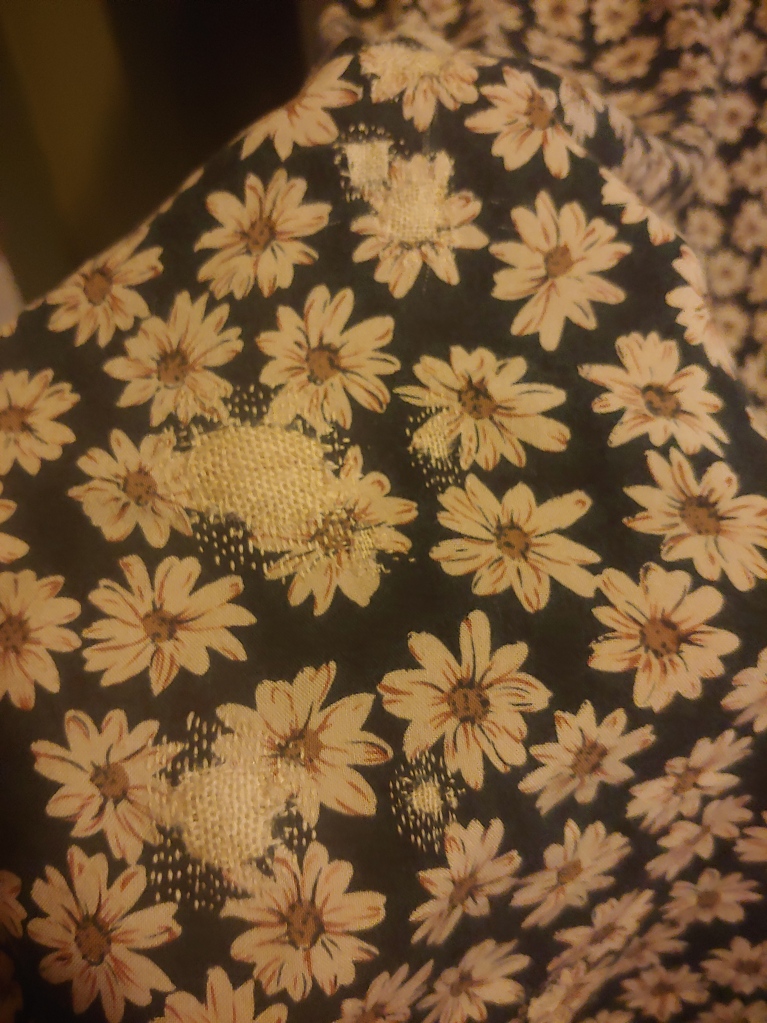
We’re not quite halfway though #mendmarch, I’ve been eagerly awaiting this day – Make aMENDs. Well y’all, I have a confession to make – I love Rayon. I know, I know, it’s awful, and even worse, I specifically love the slickly embroidered Rayon that if you get one little snag the whole decal pulls out. I have a talk with the little angel and devil on my shoulder over Rayon regularly. The angel says, “Cece! It’s bad for the environment! It’s a pain in the ass to work with!” and the little devil says, “But it’s so soft and slinky and it reminds you of all the long gray haired hippie women with turquoise jewelry who always told you everything would be alright!” Today, I make aMENDs with my love of Rayon, because, to be fair, I’ve never purchased it new, and I always try to mend it, which I’d say is a pretty conscious way to work with the devil of all fabrics!
For five years, my stubborn ass has been putting my favorite vest, that very specifically requests to be air dried through the same wash and dry cycles as the rest of my laundry. Why you may ask? Because I’m stubborn, lazy, and in my twenties, that’s why! But no more, I finally tackled the consequences of my actions this week.
I finally feel like I’m settling into writing about my mending. I have a lot to say about this mend, so I popped an old favorite on to sit down and start writing to.
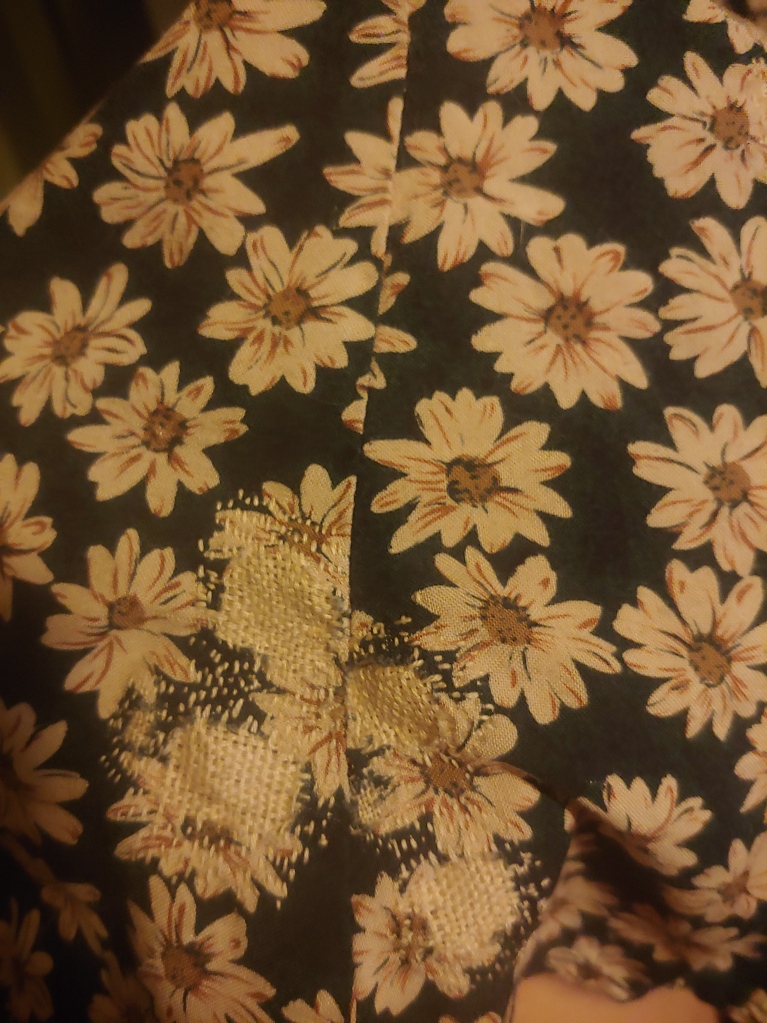
If the first thing you’re probably thinking seeing these two photos is, “Hey! Cece finally learned how to use something as simple as a light!” You’d be correct. I’m ashamed that it took me this long, but here we are, with much easier to see mends! Hooray! This vest is made of two layers of fabric, preparing that top layer first involved trimming away all the little “fuzzies” that would have been so much easier to clean up if I were the kind of woman to own a razor, but simply am not. I trimmed away the frayed fabric (I’m saving all my bits and pieces now, any ideas what I can do with them?) I then tacked it down and satin stitched all the way around – that sonofabitch ain’t goin’ anywhere now! I really love the color thread with the color of the vest, it’s a visible mend I can be proud of, but still very much my style (my style tends to be “thing that look like dirt,” and I own it)
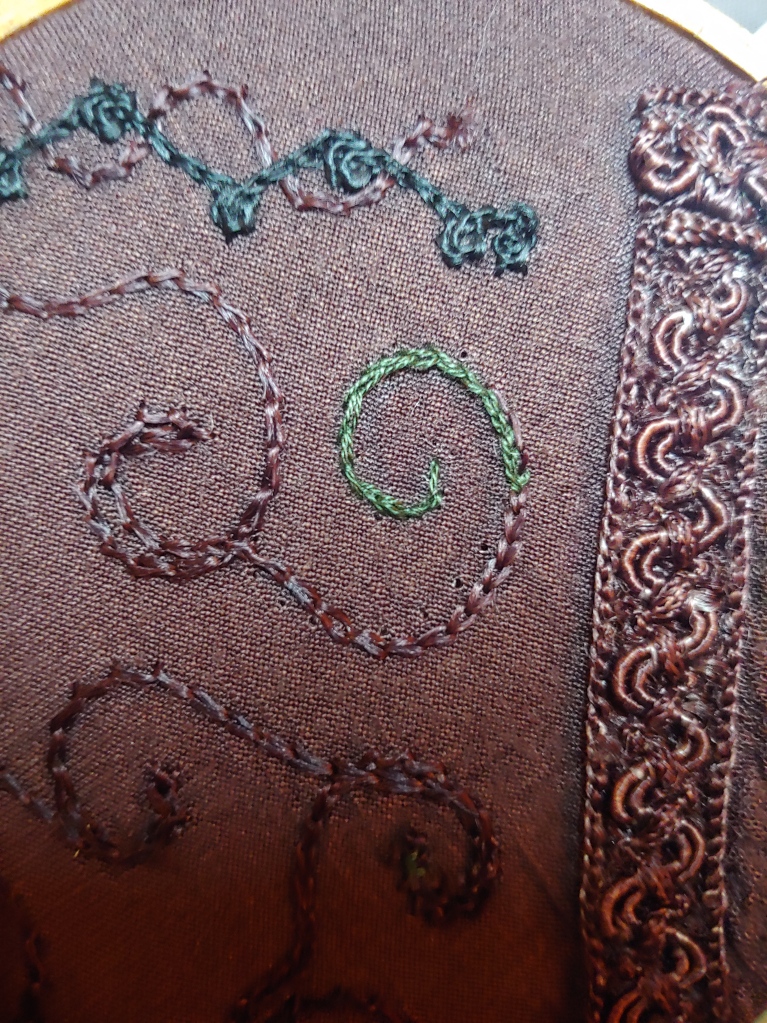
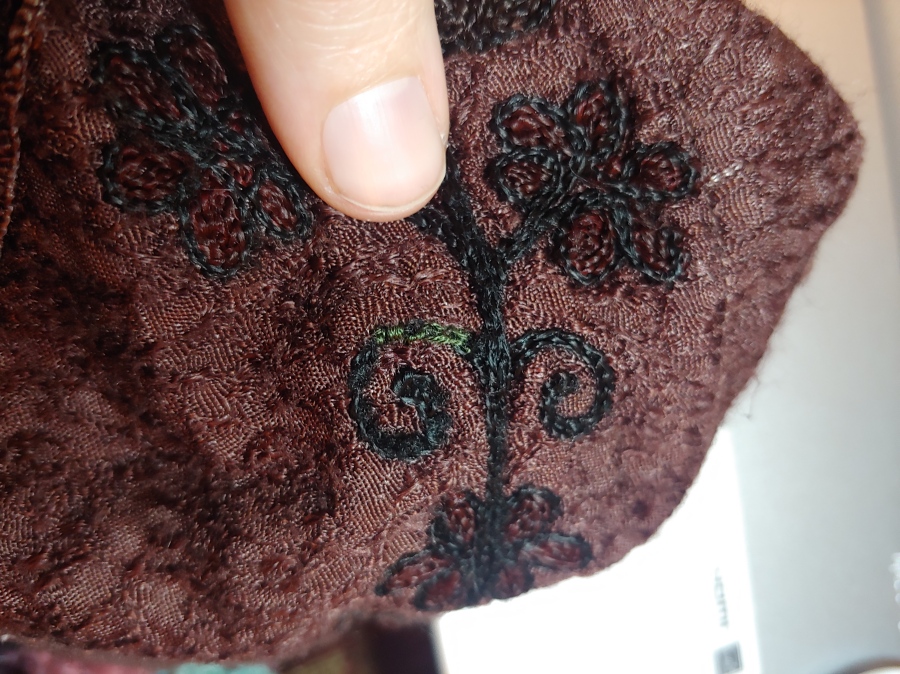
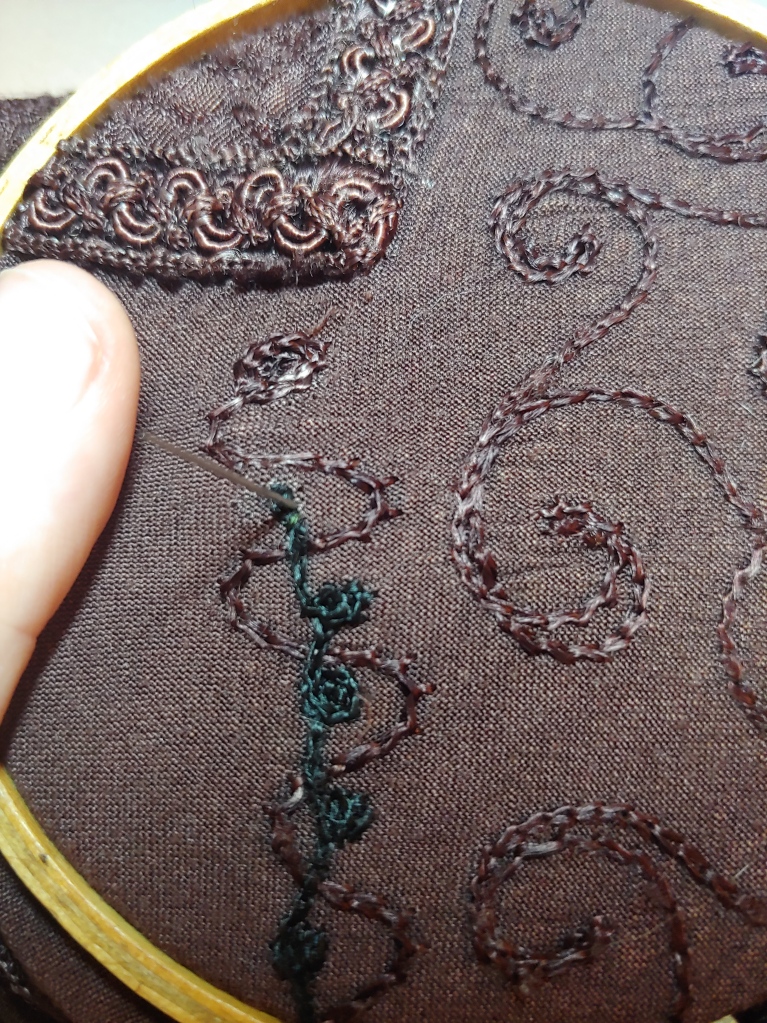
One thing I should really have learned better by now is that when you wash these things, the embroidery pops and fuzzes and they all pull straight out. Here I pulled out some frayed embroidery, tacked down the surviving end with some very aggressive couching and tried to mimic the original split stitching with this lovely dark green embroidery floss. I’m gonna have to be honest with myself though, this is probably only the beginning of me reinforcing this vests embroidery, I have not been kind to it over the years…
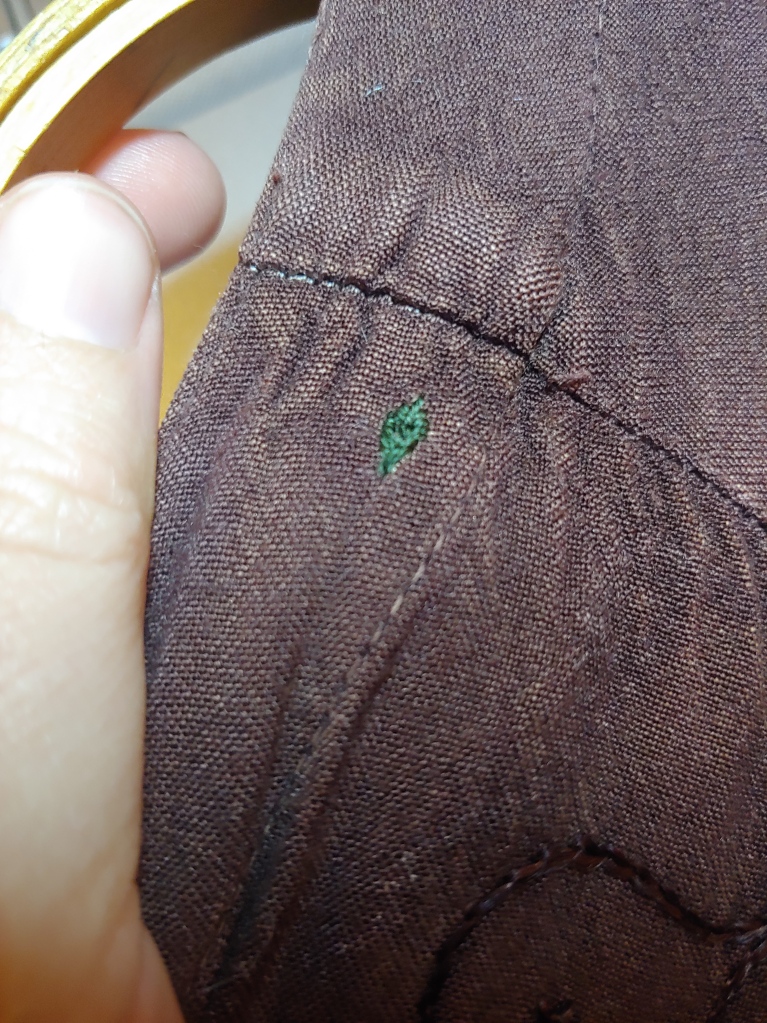
Next, I covered this bleach stain with…a leaf? an oval? whatever it is now, I’m sure it will become something much cooler some day. I do love using embroidery to cover stains though!
This is where I discovered just how much of a monster I truly am… I washed and dried this beautiful vest that I love so many times that the French seams failed. What a horrible accomplishment, I’m both ashamed and impressed with my ability to f#$% something up. I added a few lines of machine stitching in hopes of catching future fraying (can you tell I’m reeeeally not that good at using a sewing machine…yet?) I’ll probably have to revisit this mend, because I’m not super confident that it will hold up – but I’m surely not gonna keep washing and drying the thing like I would a practical material.
And there we have it – my favorite vest I ever destroyed, looking more lovely now than when I bought it (yeah, that’s what I’ll keep saying)
Don’t forget to follow me on Facebook & Instagram for more #MendMarch posts!